This guide explains how to connect Webflow with LongShot AI in a single click. It also demonstrates how to export content directly from LongShot to Webflow.
Generating an API Token from Webflow
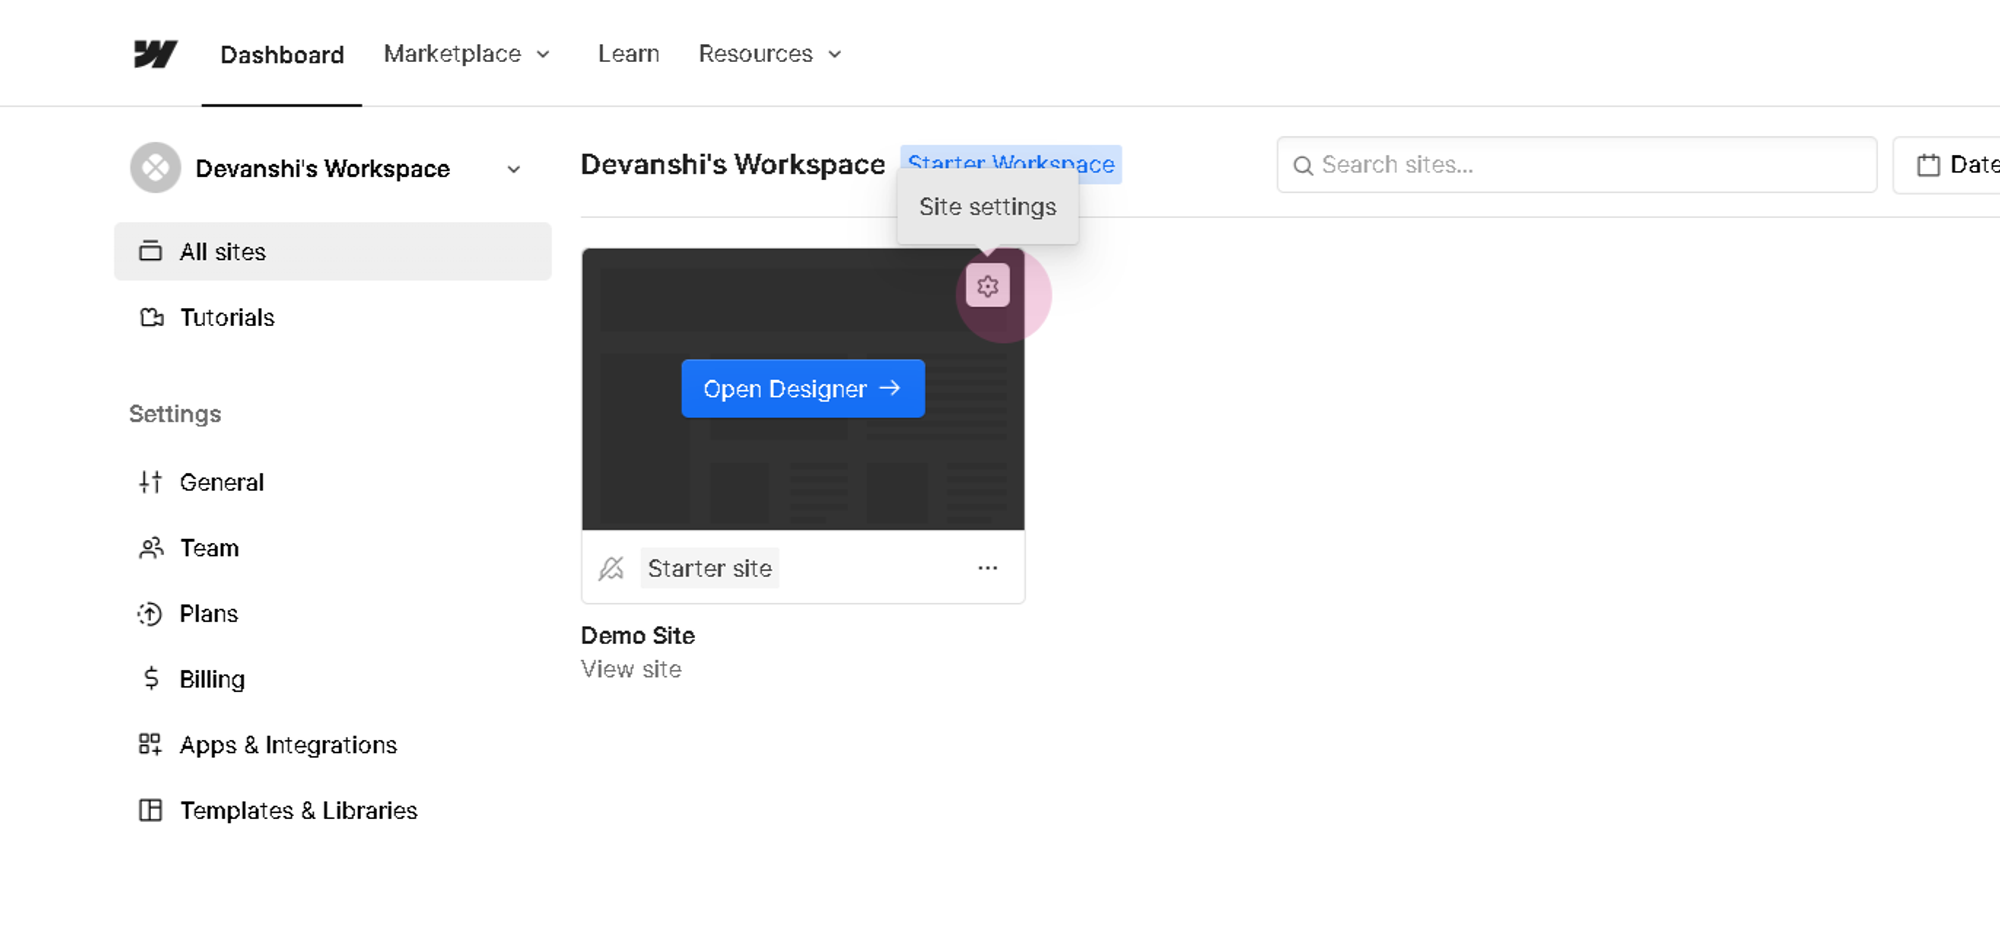
Step 1: Navigate to the Webflow dashboard and click on site settings.
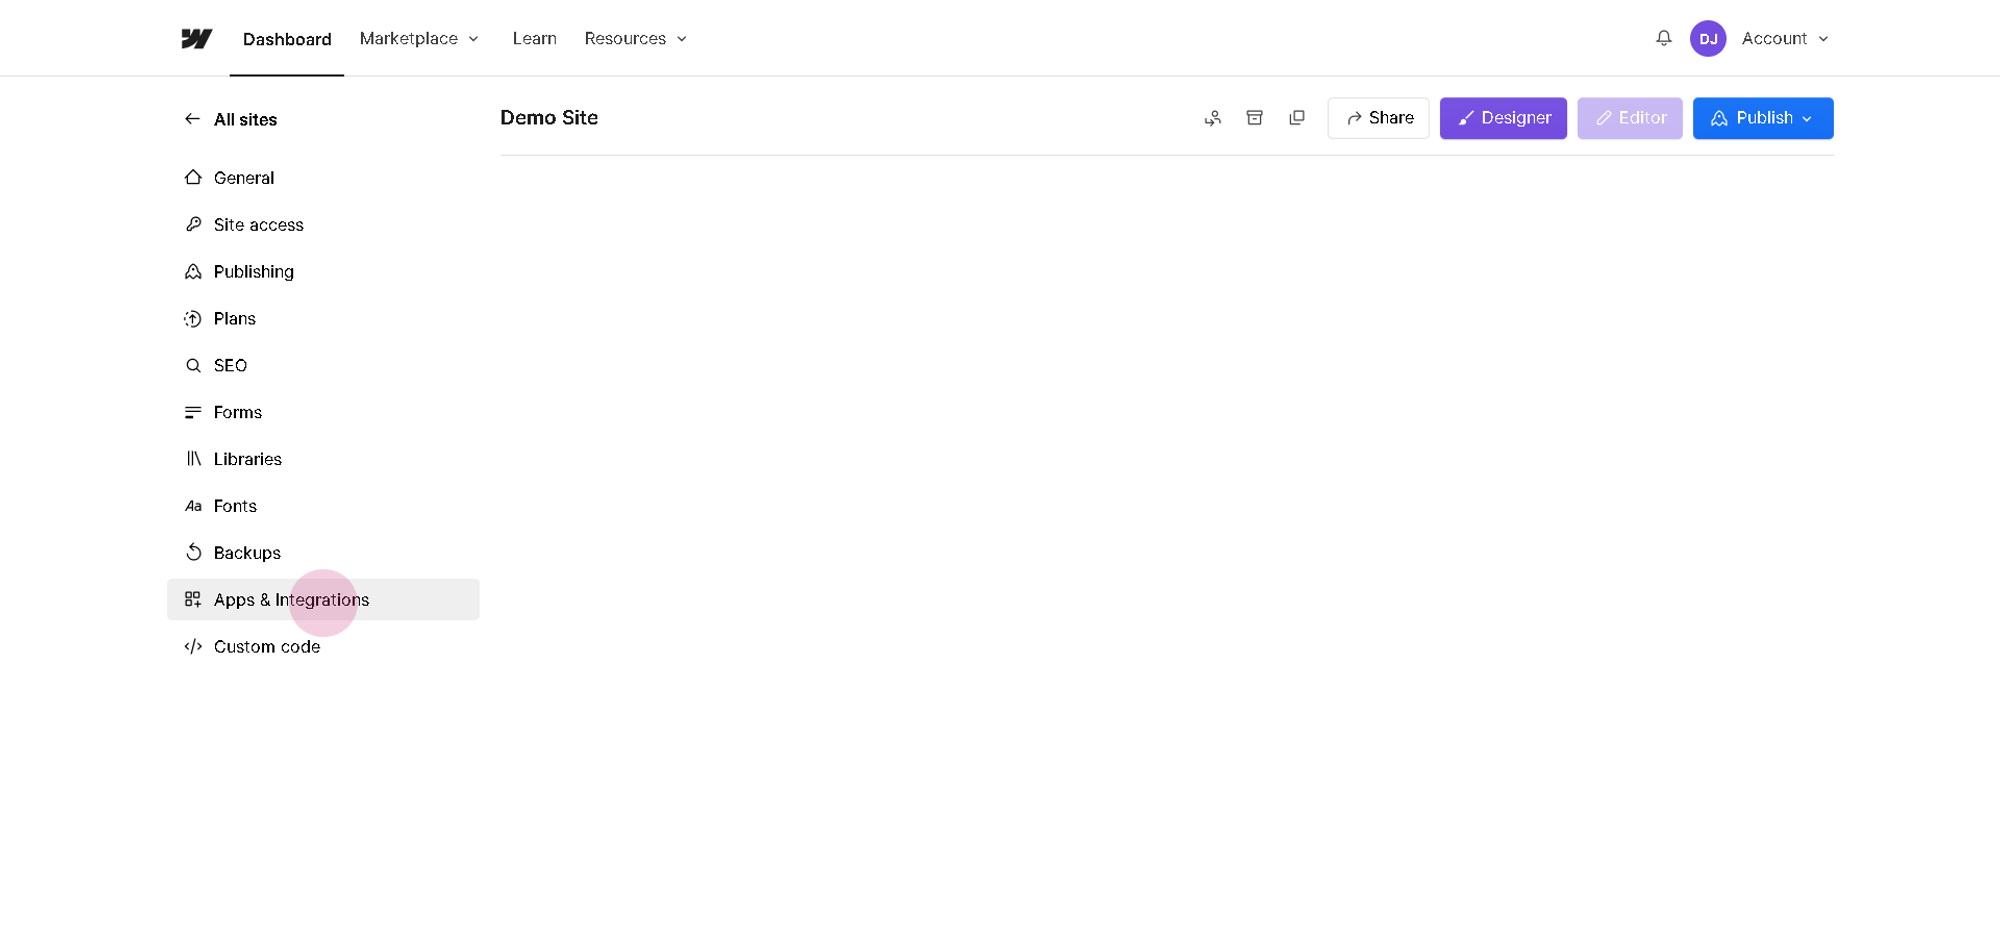
Step 2: Navigate to Apps & Integrations
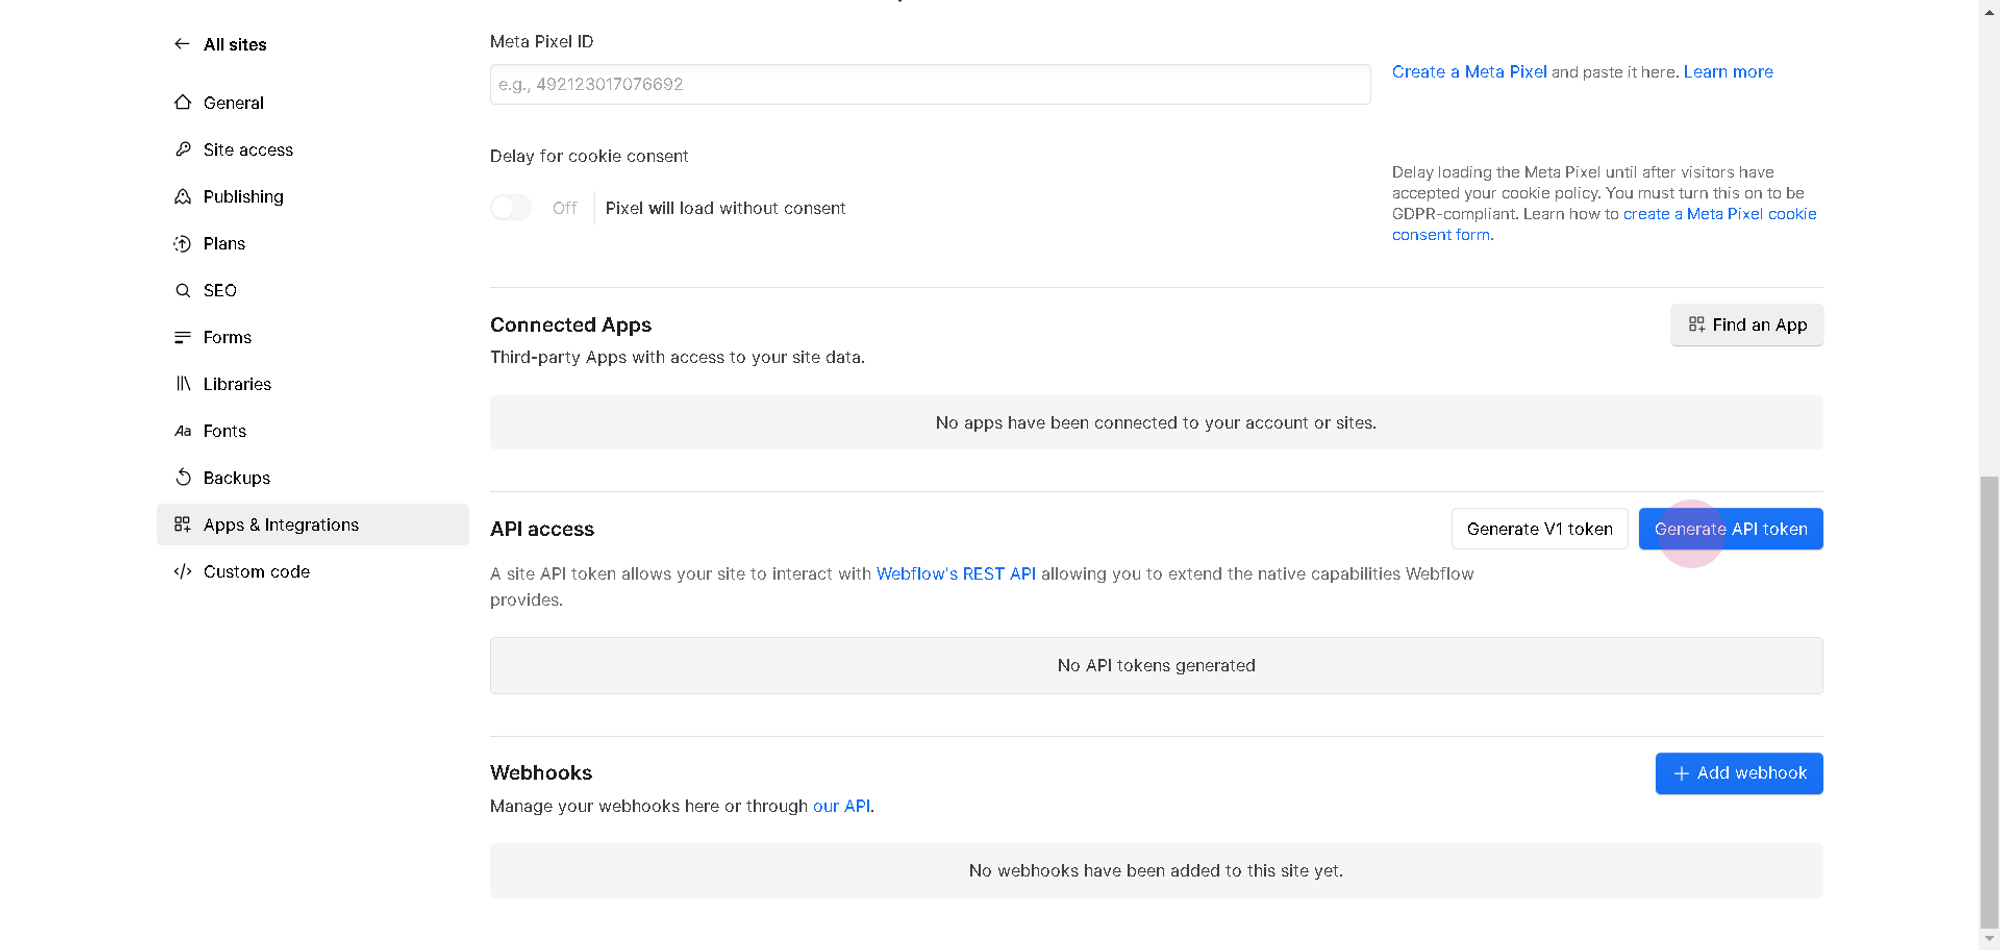
Step 3: Scroll down and select Generate API token.
Step 4: Assign a token name. For this demonstration, use "demo".
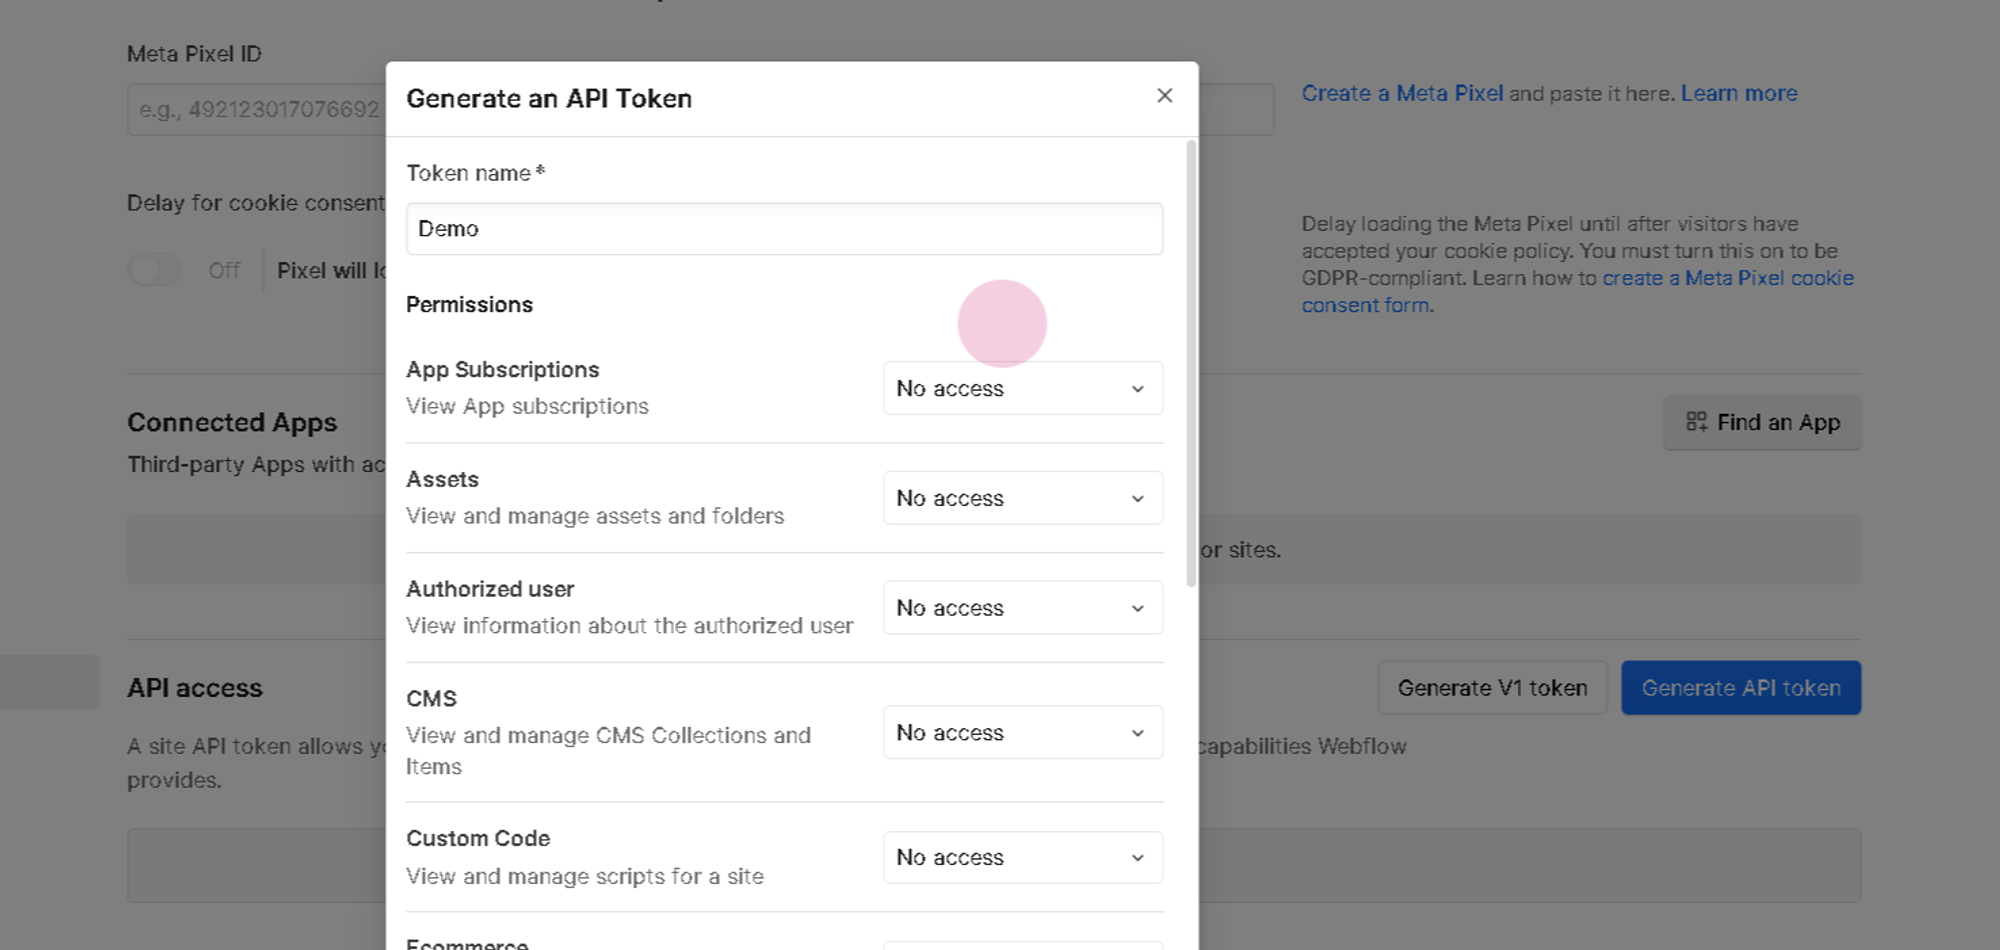
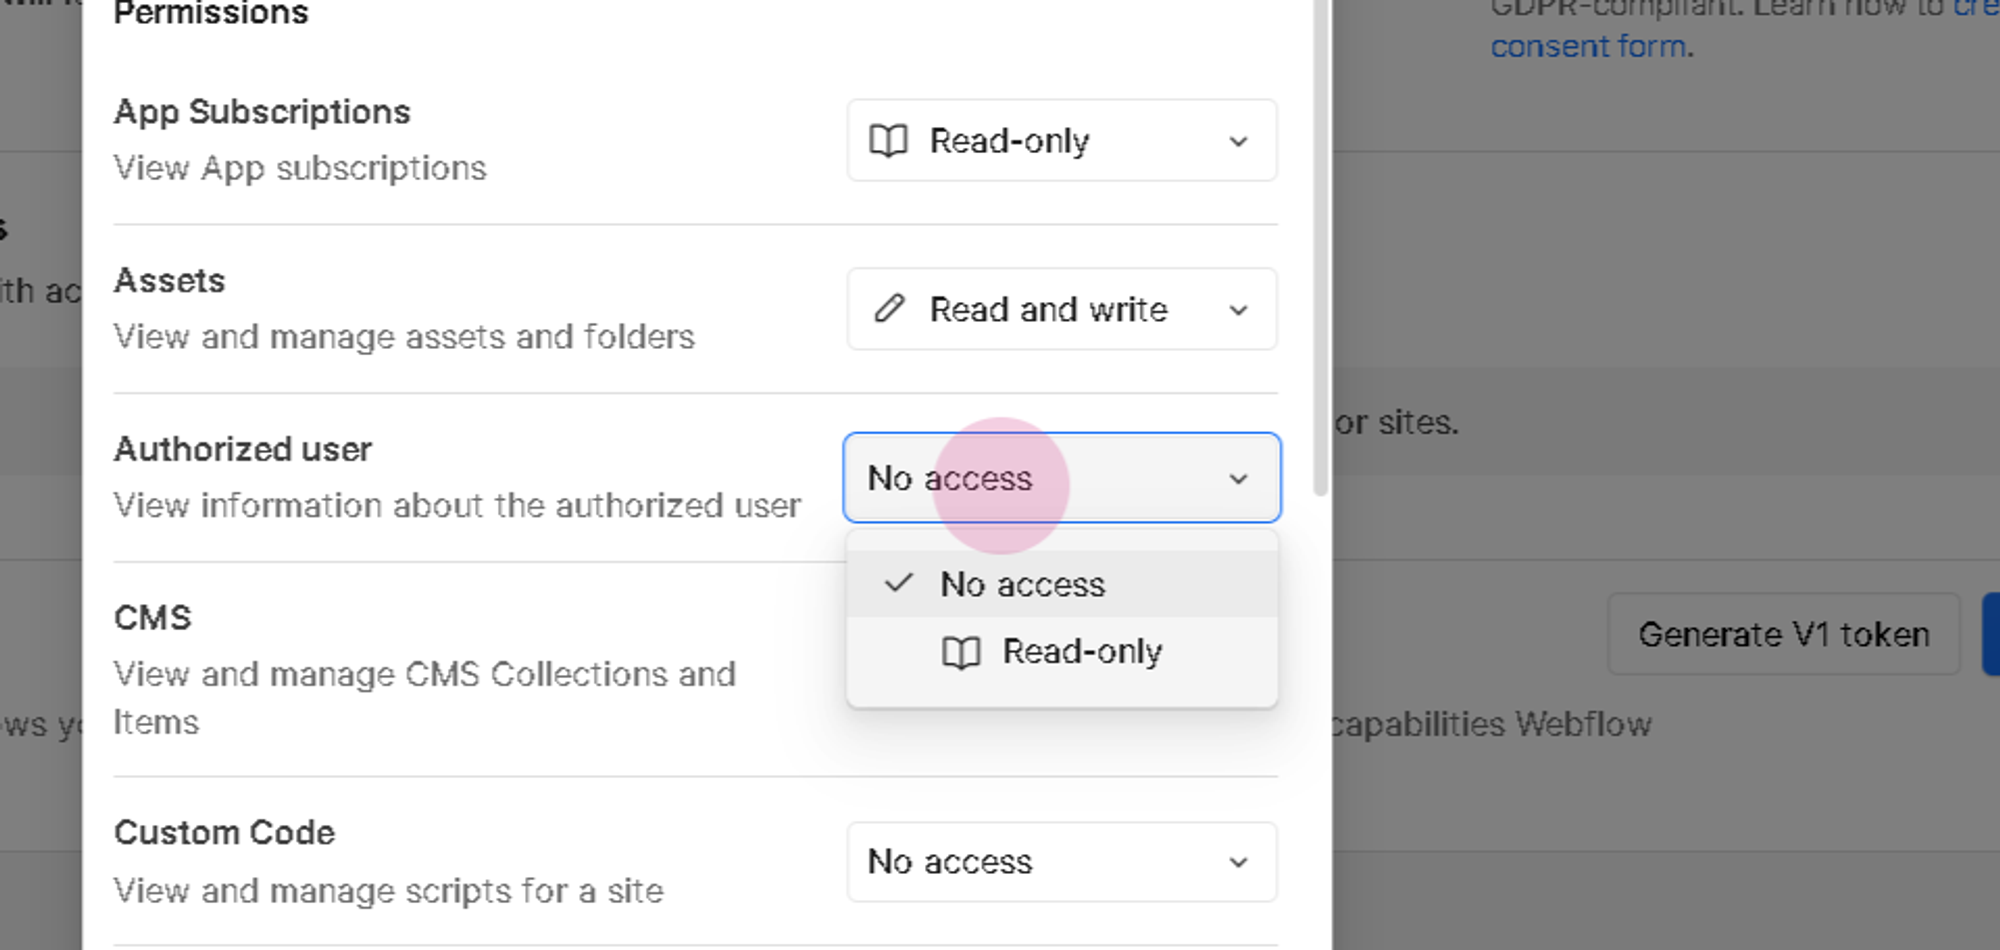
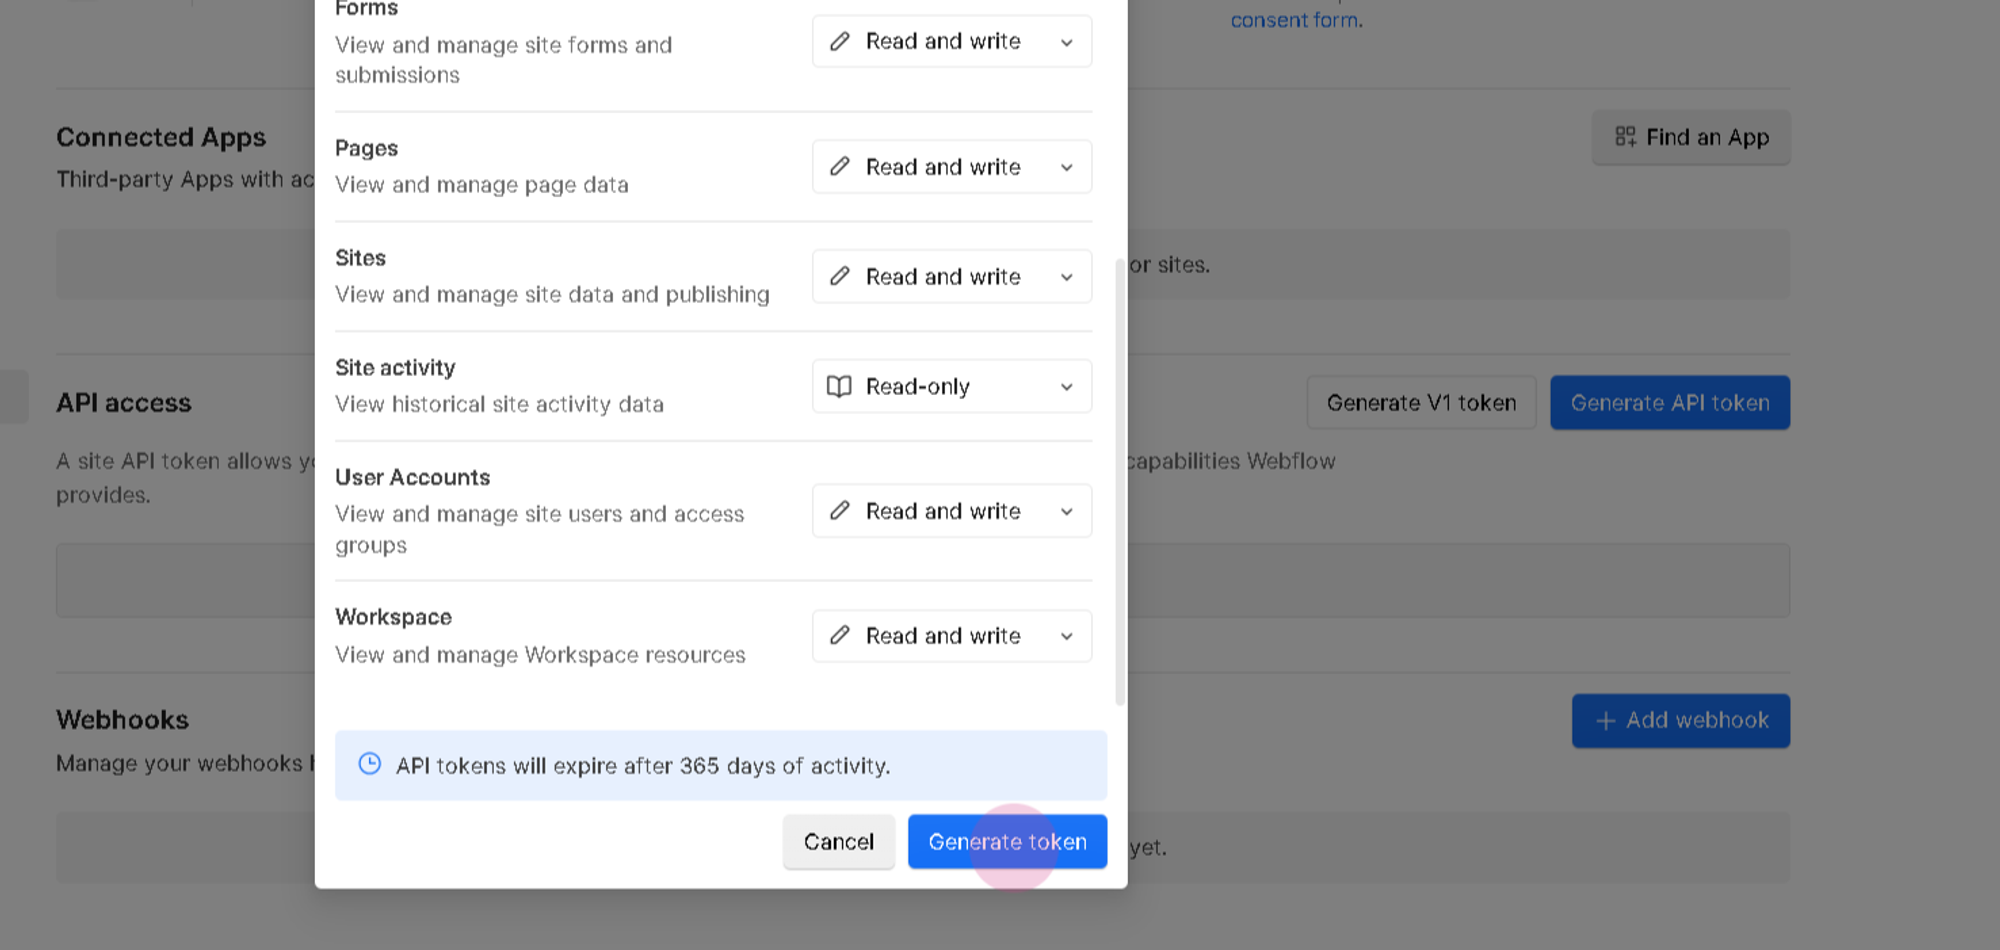
Step 5: Assign permissions to the API key. Whenever possible, grant read and write permissions. If read-and-write access isn't available, select read-only access.
Step 6: Click on Generate Token.
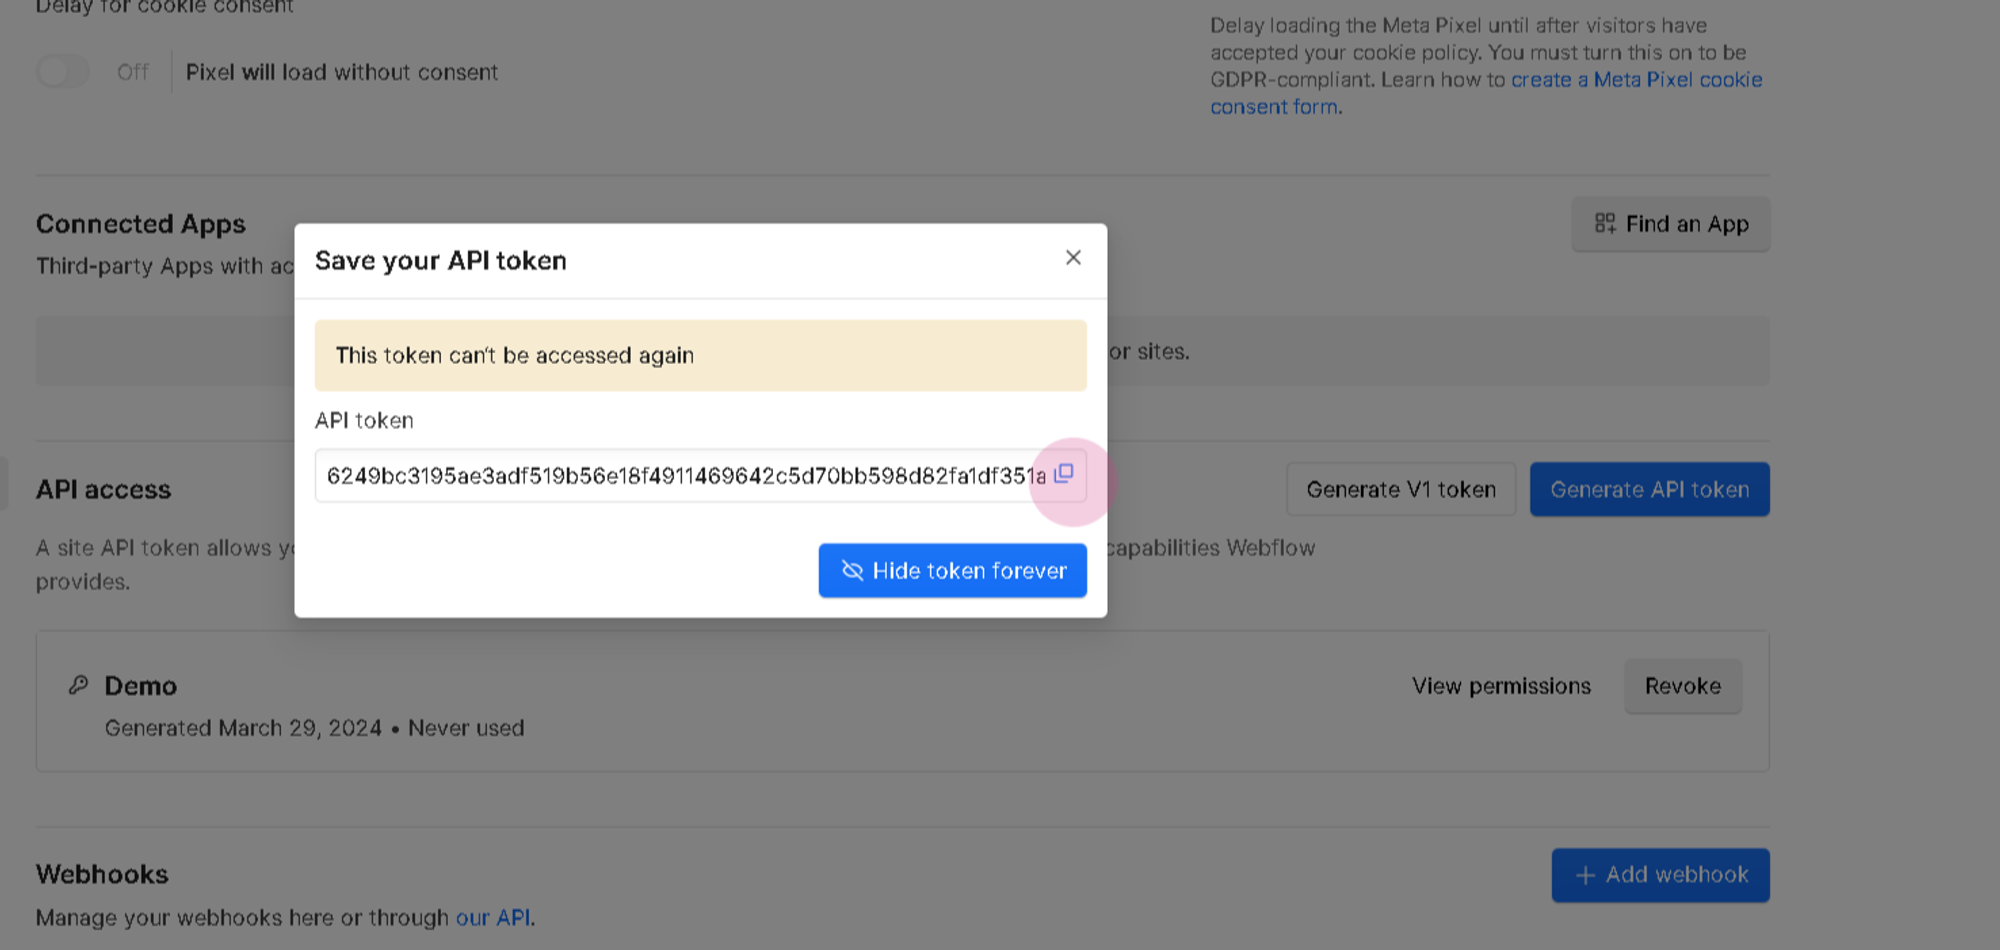
Step 7: Copy the generated API token.
Connecting Webflow with LongShot AI
Step 1: Return to the LongShot AI dashboard.
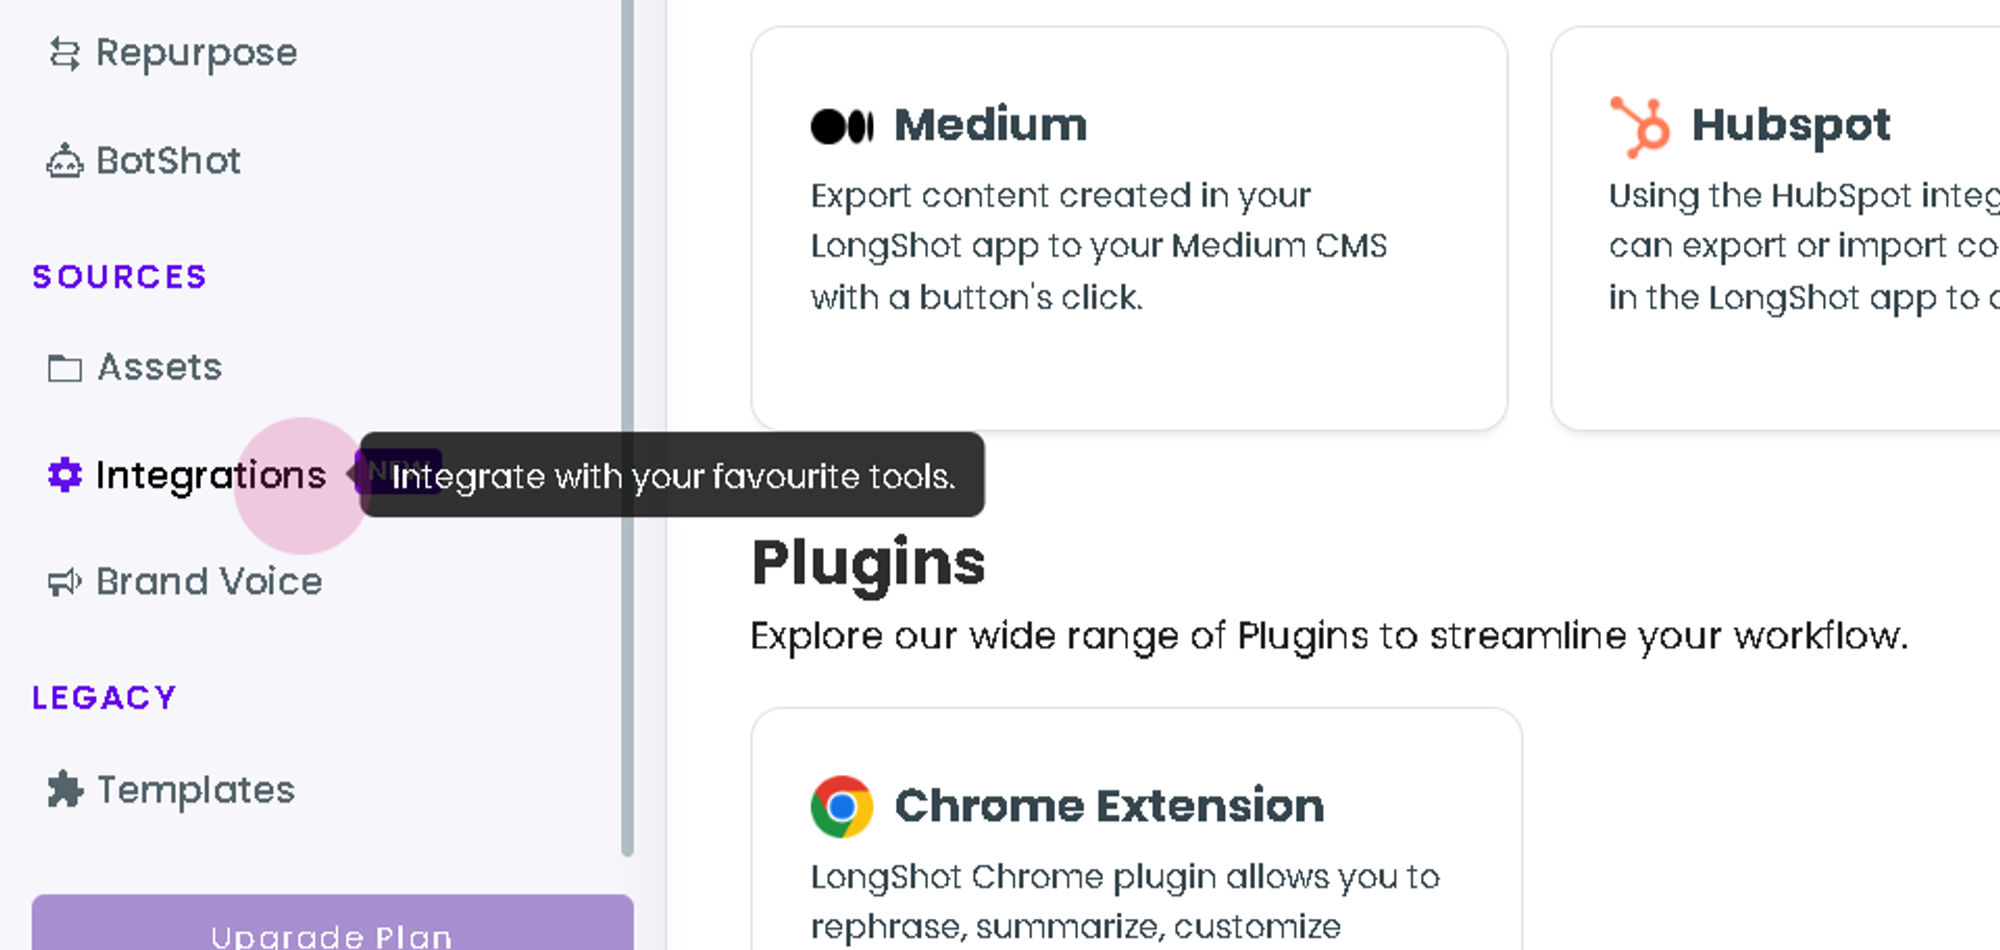
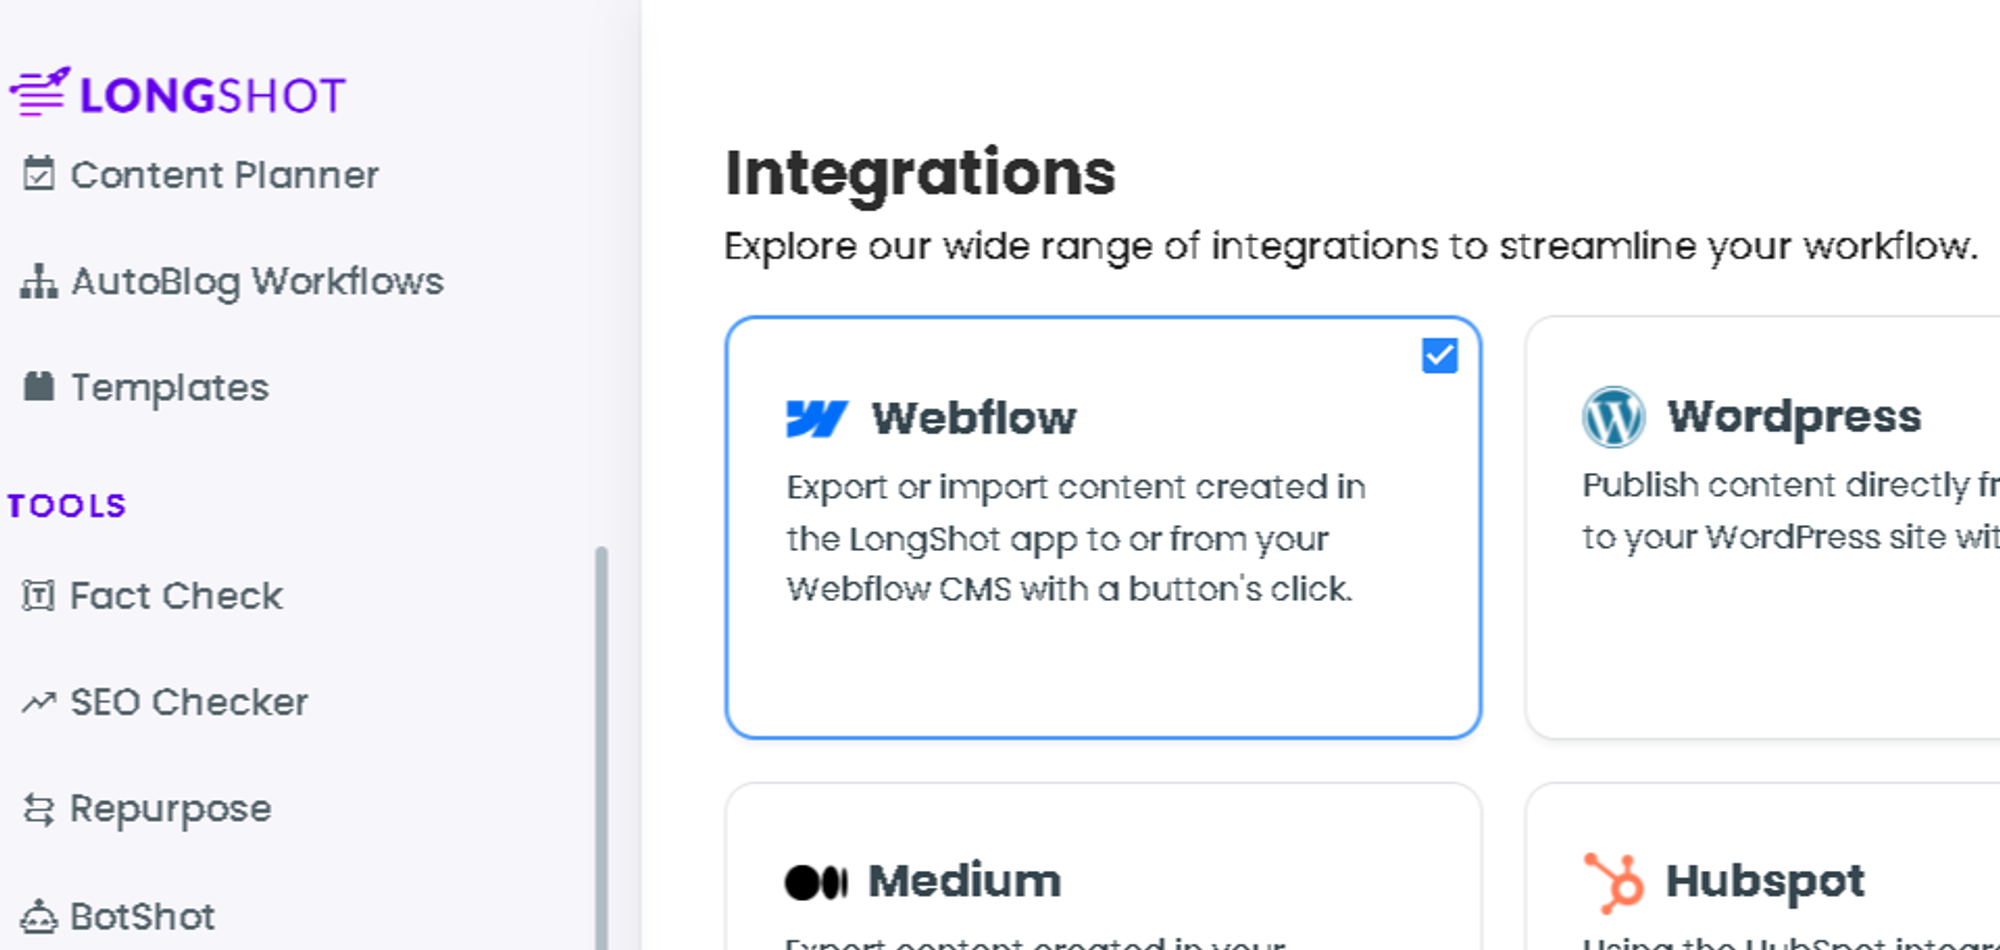
Step 2: Navigate to the integration tab and select Webflow.
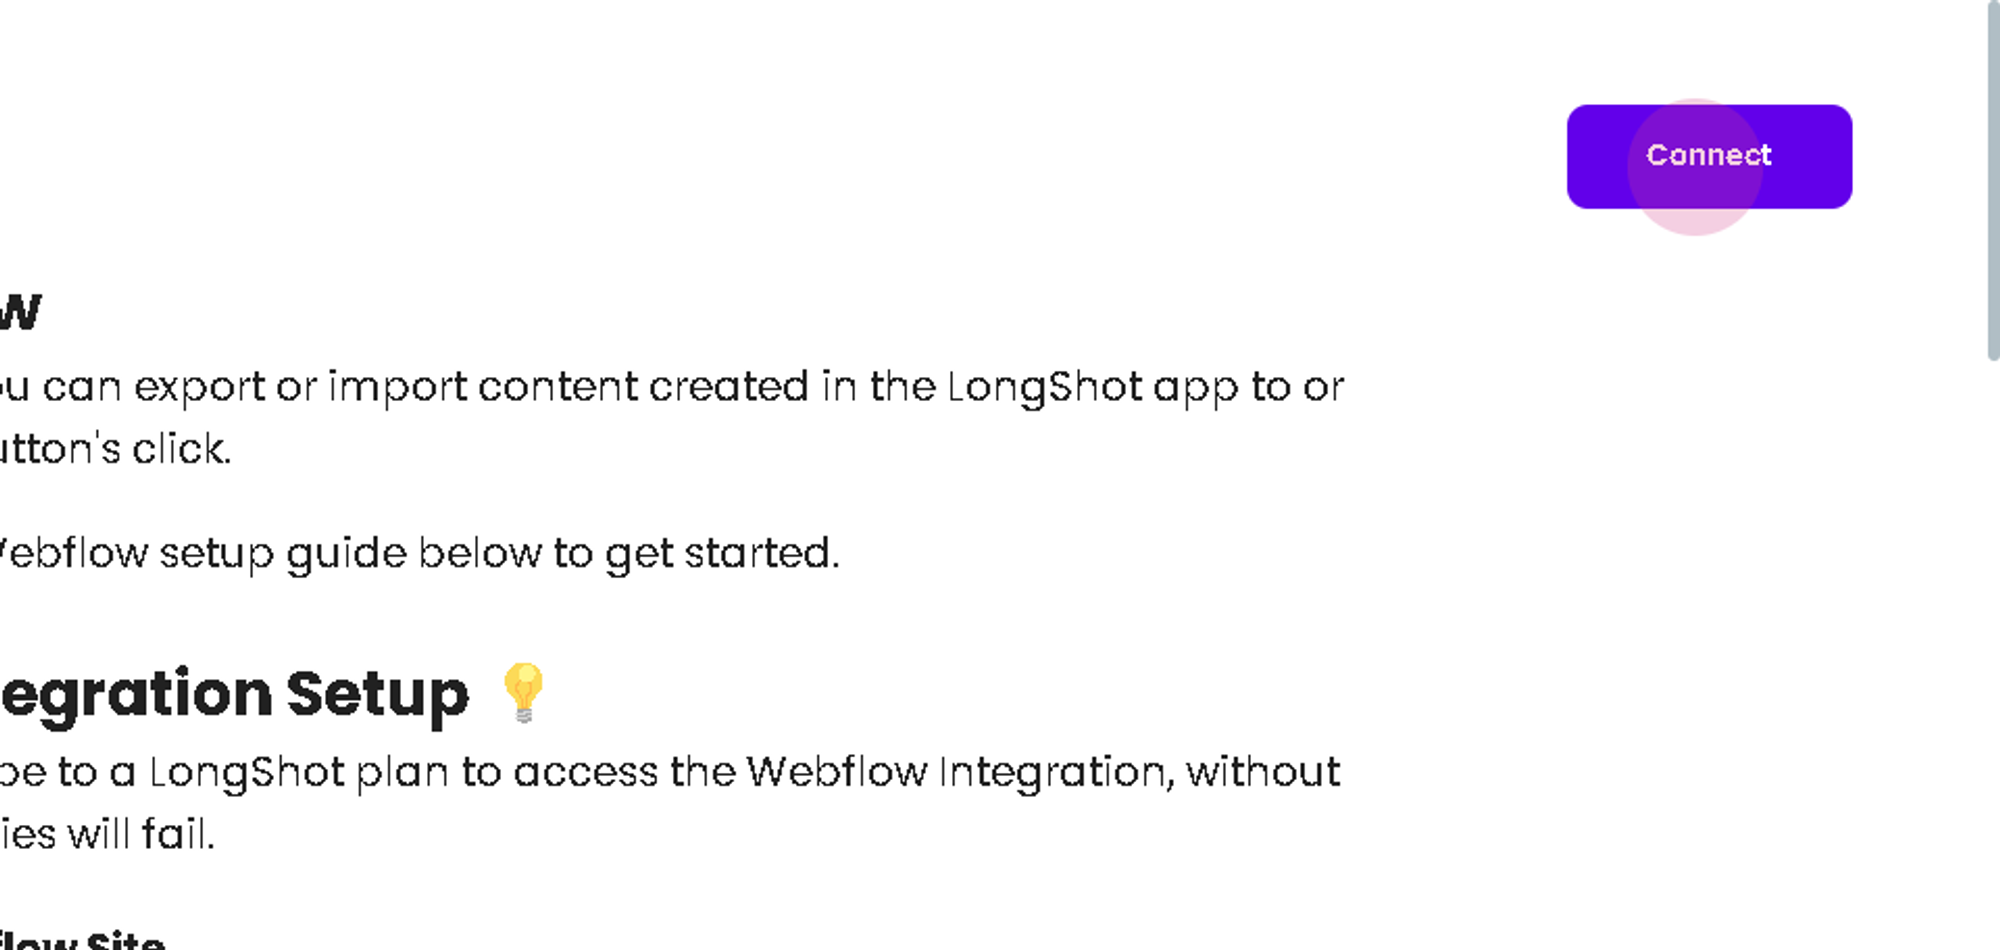
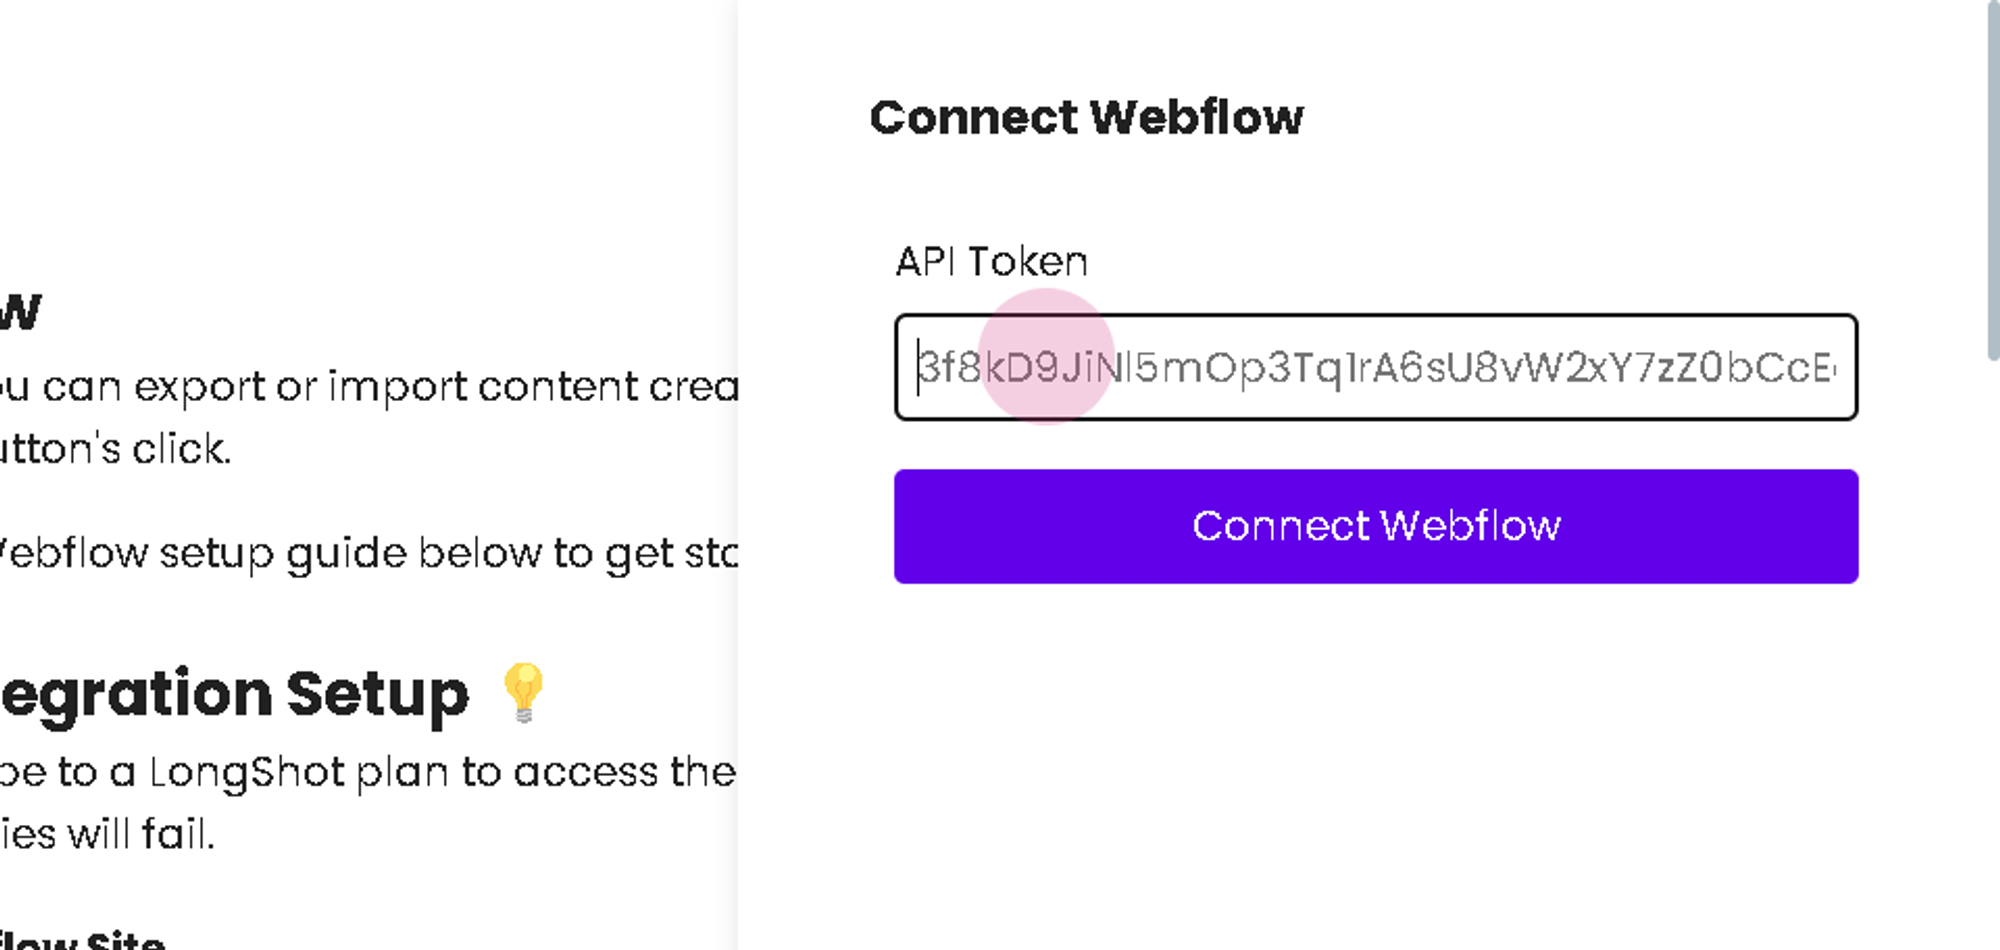
Step 3: Click on the connect option and paste the copied API token.
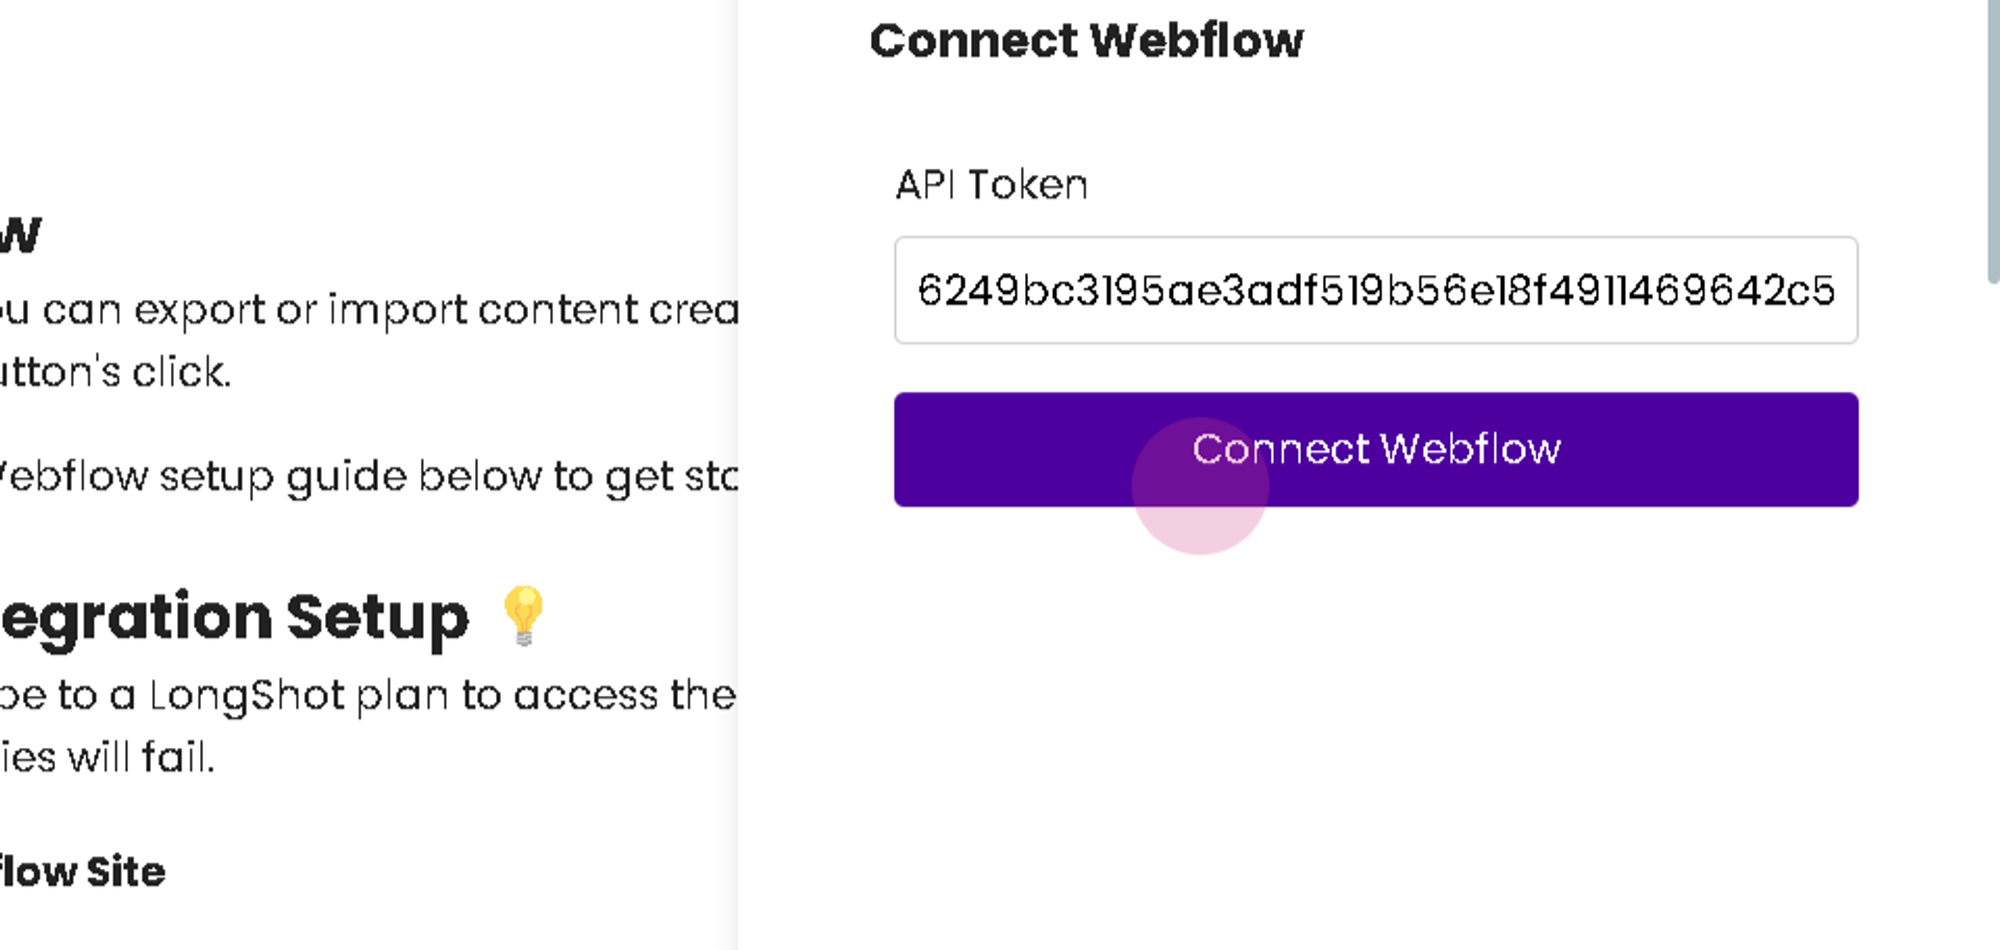
Step 4: Click on Connect Webflow.
Upon successful connection, it's possible to export or import content directly \]within LongShot and Webflow.
Exporting Content to Webflow
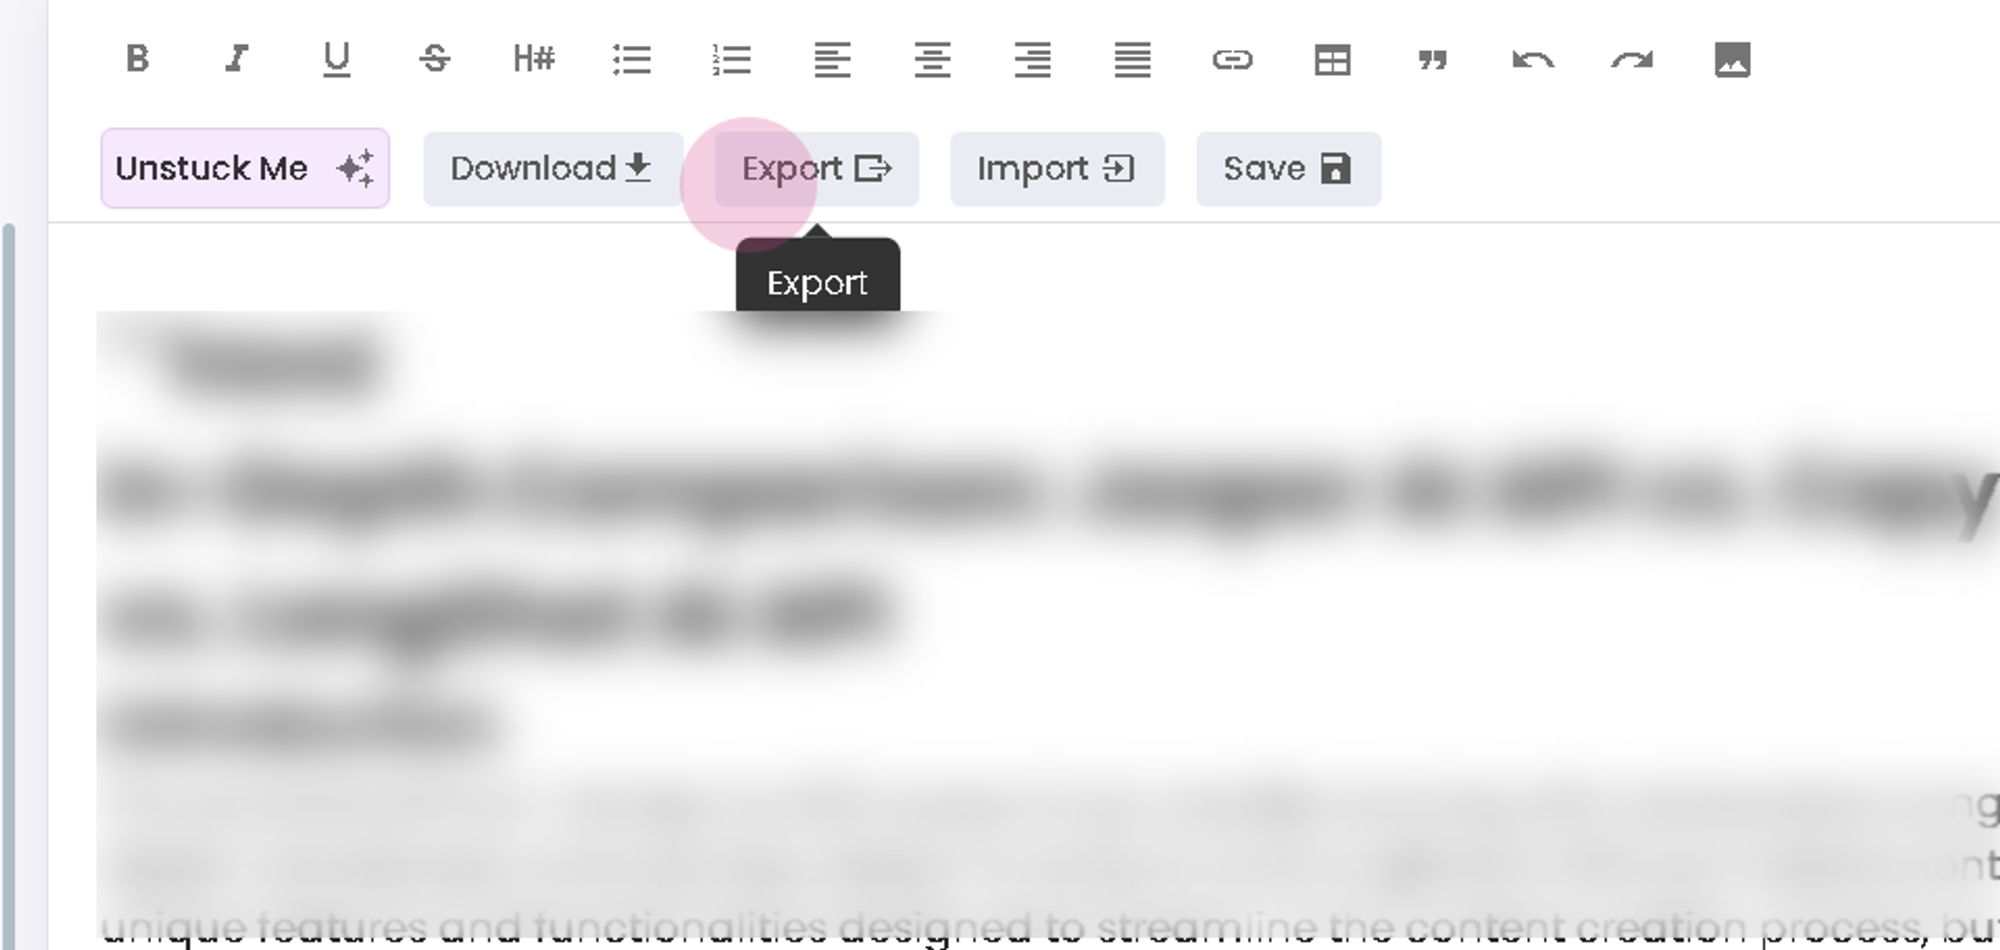
Step 1: Open the blog and click on export.
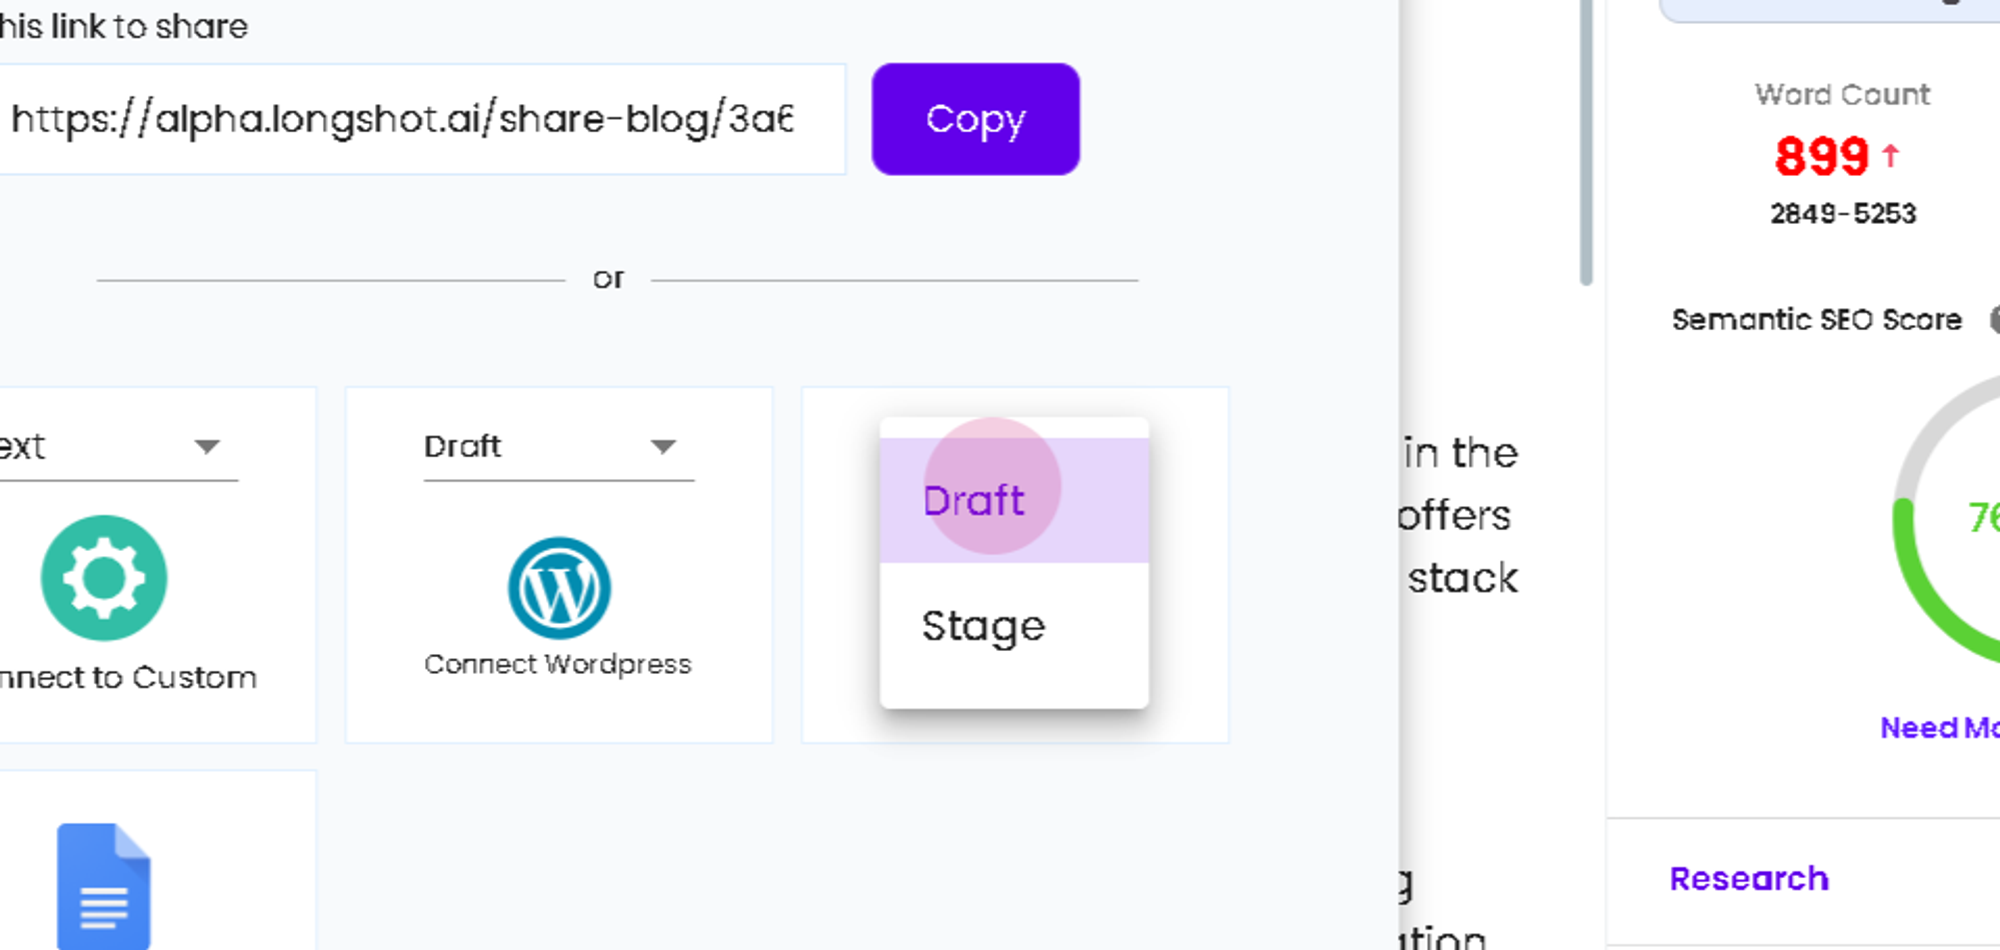
Step 2: Choose to export as a draft or directly to Webflow.
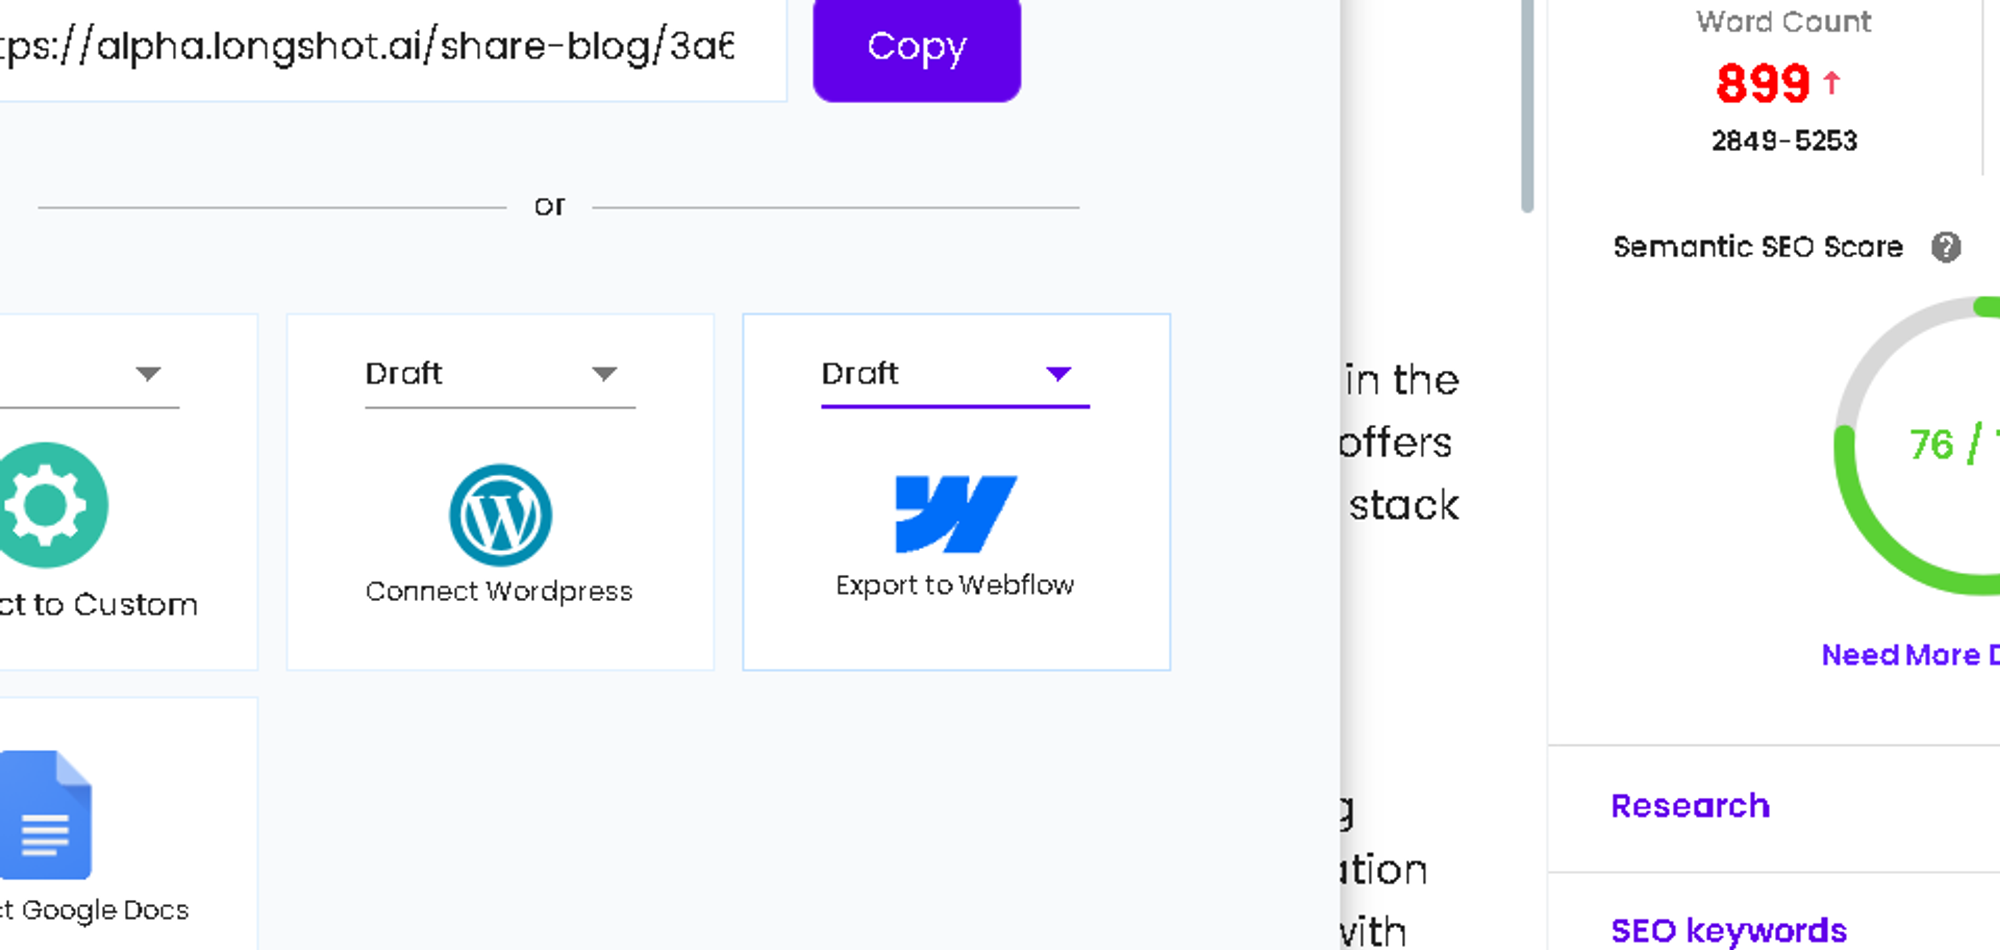
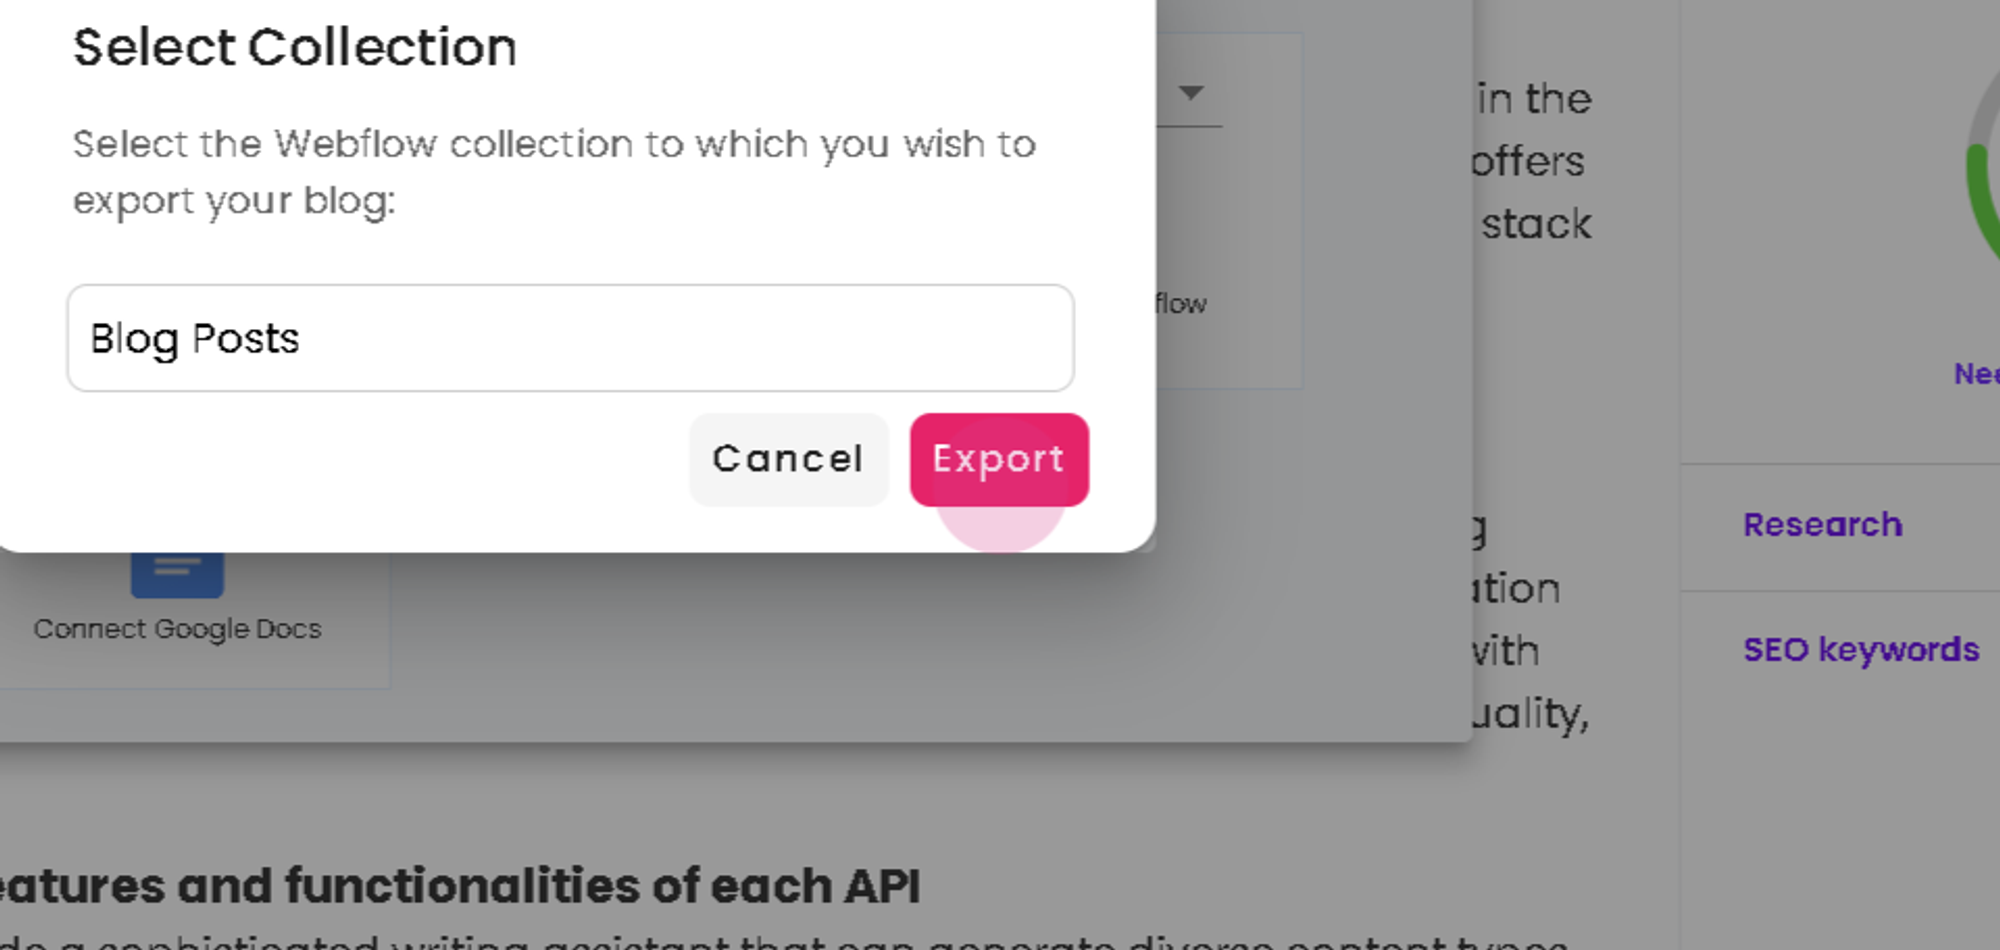
Step 3: Click on Webflow and select a collection for export.
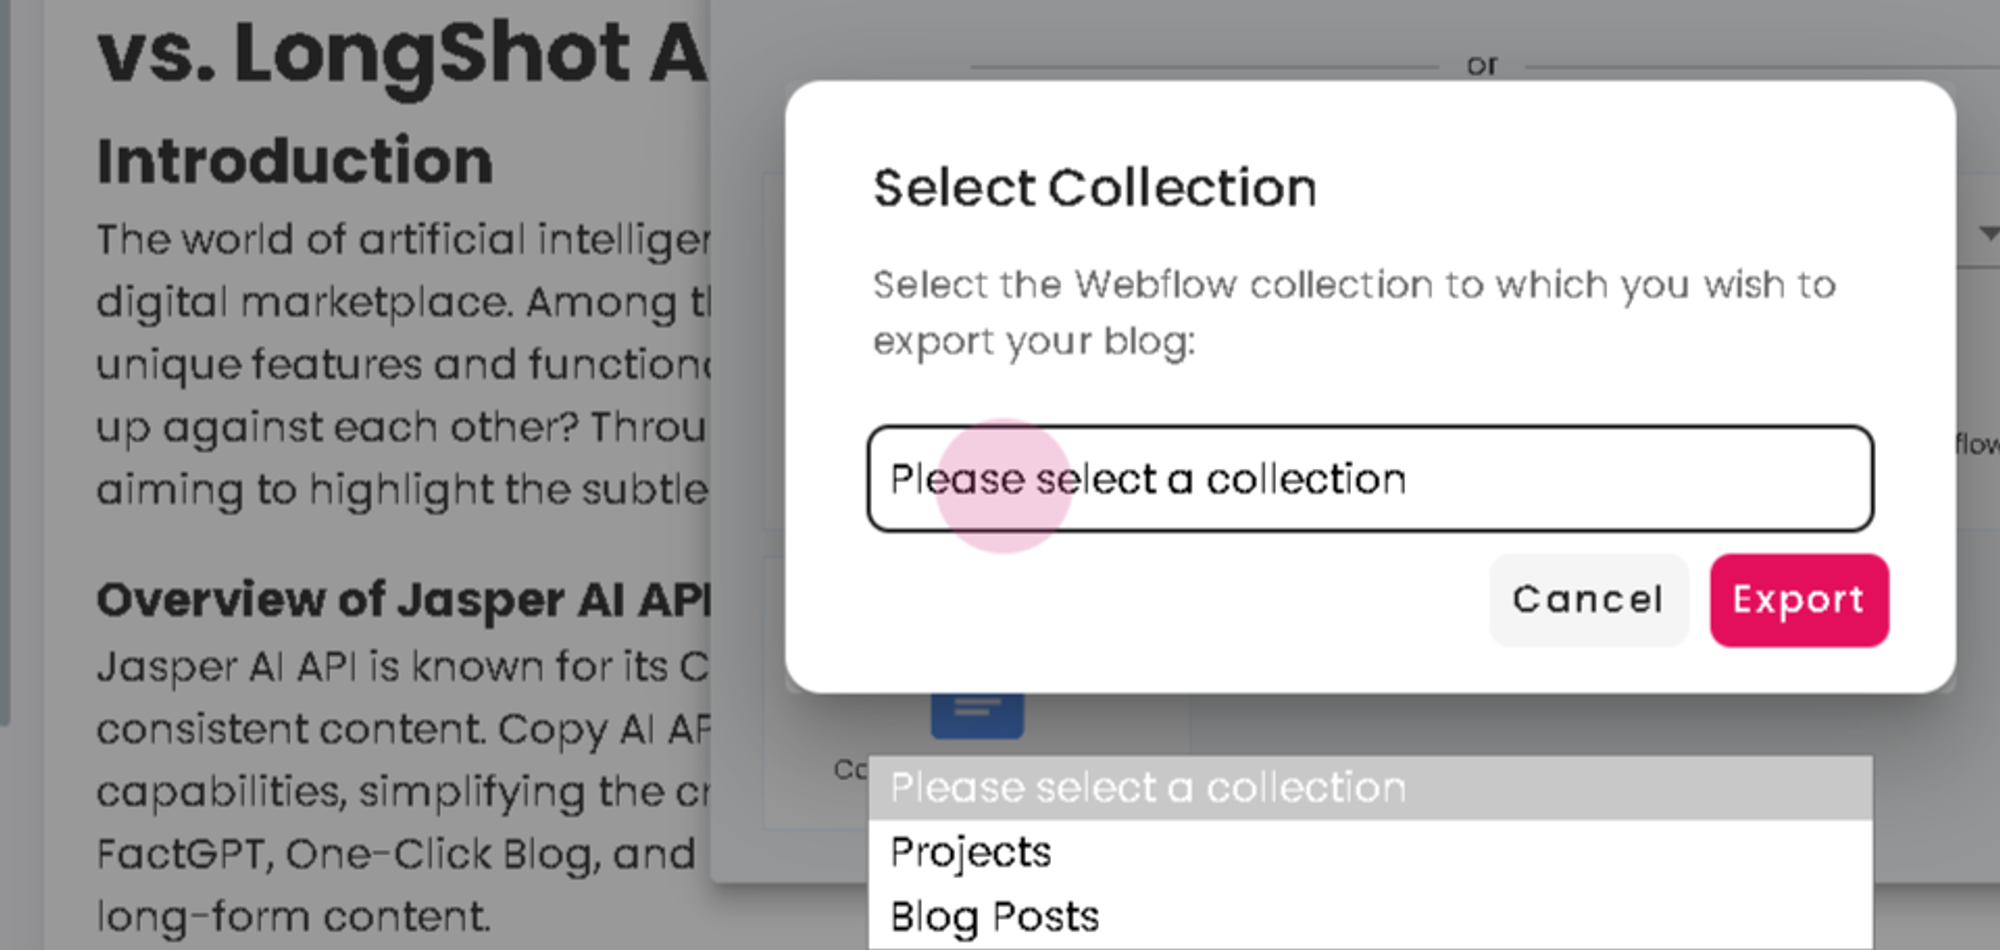
Step 4: Click on export.
Upon successful export, the blog is now available on Webflow.